
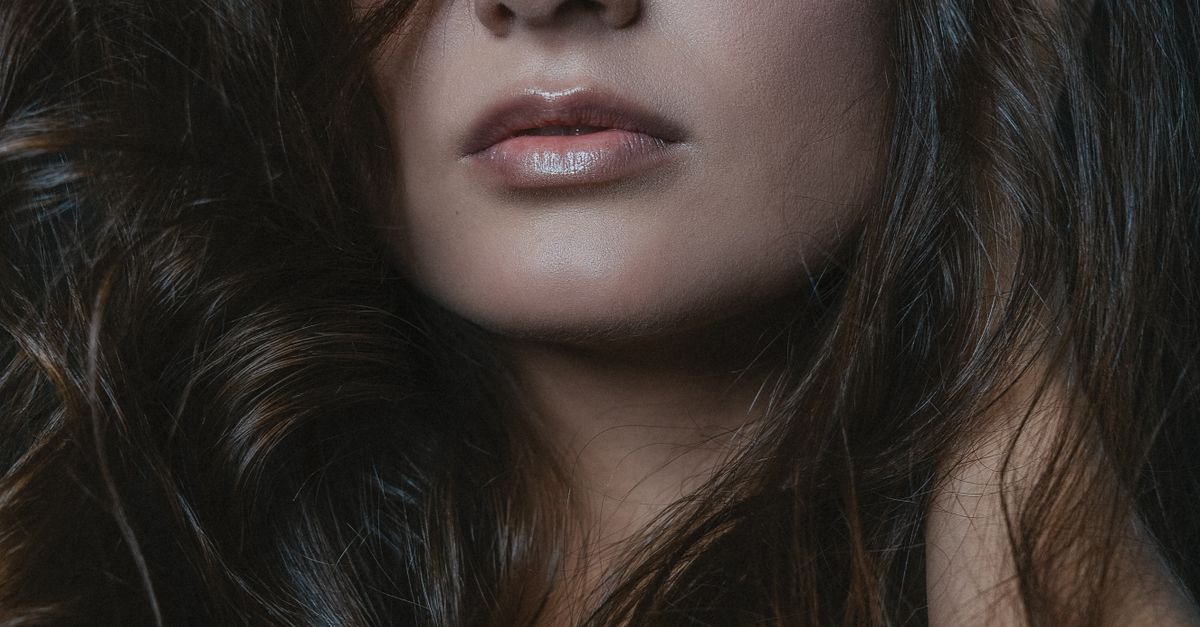
Dreaming of a richer, more dimensional shade without completely abandoning your natural dark brown? Lowlights are the perfect answer. By weaving subtle, deeper tones into your base color, lowlights add depth, movement, and a sun‑kissed glow that can make any dark brown mane look instantly more polished.
This guide walks you through everything you need to know from choosing the right shade to caring for your new look so even a total beginner can achieve salon‑worthy results.
Understanding Lowlights: What They Are and Why They Work for Dark Brown Hair

Lowlights are strands that are dyed a shade darker than your natural color. Unlike highlights, which brighten, lowlights create contrast by adding depth. For dark brown hair, this contrast is often subtle, but it can dramatically enhance texture and give the illusion of thicker, fuller locks.
How Lowlights Interact with Dark Brown Base
When you already have a deep base, the added shadows blend seamlessly, creating a natural, multi‑dimensional effect. The darker strands catch light differently, making each movement of your hair appear more lively and less flat.
Benefits Beyond Aesthetics
- Improves hair texture perception
- Reduces the appearance of gray roots
- Extends the time between full color refreshes
- Works well with both warm and cool undertones
Choosing the Perfect Shade of Lowlights for Your Dark Brown Hair

The key to a natural‑looking lowlight is selecting a shade that complements your existing color and skin tone. Dark brown hair offers a wide palette, from cool espresso to warm chocolate. Below is a quick comparison to help you decide.
| Shade | Undertone | Best For |
|---|---|---|
| Chocolate Truffle | Cool | Cool skin tones |
| Warm Caramel | Warm | Warm skin tones |
| Espresso Bean | Neutral | All skin tones |
If you have a cool complexion (pink or rosy undertones), opt for Chocolate Truffle or a cool espresso. Warm undertones pair beautifully with Warm Caramel, while neutral shades work for anyone looking for a subtle, low‑maintenance change.
Tips for Testing Shades
- Ask your stylist for a strand test before committing.
- Use a virtual hair color app to preview the contrast.
- Consider seasonal adjustments—warmer shades in winter, cooler in summer.
How Lowlights Transform Dark Brown Locks: Visual Effects Explained

Adding lowlights to dark brown hair changes the way light interacts with each strand. The darker strands absorb more light, creating a shadow effect that adds depth. This can make hair appear thicker, especially for fine or thin textures.
Movement and Dimension
Every turn of the head reveals a new pattern of light and shadow. The result is a dynamic look that feels alive, rather than a flat, single‑tone color.
Camouflaging Gray and Damage
Strategically placed lowlights can blend with emerging gray hairs, making them less noticeable. They also help hide minor damage or split ends, as the darker tones draw attention away from imperfections.
Step‑by‑Step DIY Lowlights Application for Beginners

If you’re ready to try lowlights at home, follow this straightforward process. Remember, safety first: always perform a patch test 48 hours before coloring.
What You’ll Need
- Low‑light hair dye kit (choose a shade from the table above)
- Mixing bowl and applicator brush
- Aluminum foil or low‑light caps
- Gloves, timer, and a wide‑tooth comb
- Shampoo and conditioner for color‑treated hair
Application Process
- Prep Your Hair: Wash with a clarifying shampoo 24‑48 hours before coloring. Do not use conditioner.
- Mix the Dye: Follow the manufacturer’s instructions precisely. Use the bowl to blend the developer and color.
- Section Your Hair: Divide hair into four quadrants. Secure each with clips.
- Apply the Low‑lights: Using the brush, take thin strands (about pencil‑width) and apply the dye, focusing on areas where natural shadows would fall—around the crown, near the part, and under layers.
- Wrap with Foil: Lay a small piece of foil over each dyed strand and fold to seal. This traps heat and speeds processing.
- Set the Timer: Most lowlight kits recommend 20‑30 minutes. Check the instructions for exact timing.
- Rinse and Condition: Rinse with cool water until water runs clear. Apply a color‑protecting conditioner and leave for 3‑5 minutes.
- Dry and Style: Pat dry with a towel, blow‑dry on a low heat setting, and style as usual.
After the first application, you’ll notice a subtle, natural depth. The color will intensify slightly over the next few days as the dye settles.
Professional Salon vs. At‑Home: What to Expect from Each Approach

Both options have pros and cons. Understanding them helps you choose the route that fits your budget, time, and desired outcome.
Salon Experience
- Expertise: Stylists assess your hair type, skin tone, and lifestyle to customize the lowlight blend.
- Tools: Professional-grade foils, caps, and precise placement techniques produce flawless results.
- Longevity: Salon colors often last longer because of higher‑quality pigments.
- Cost: Expect $80‑$150 for a lowlight service on medium‑length hair.
At‑Home Benefits
- Significant cost savings—kits range $15‑$35.
- Convenient scheduling; you can do it on a weekend.
- Control over the amount of contrast; you can start subtle and build.
However, home applications may result in uneven placement if you’re not comfortable with sectioning. For beginners, a hybrid approach—consult a stylist for a shade recommendation then apply at home—can be ideal.
Caring for Dark Brown Hair with Lowlights: Maintenance Tips That Keep Color Fresh
Once you’ve added lowlights, proper care ensures the color stays vibrant and your hair stays healthy.
Shampoo and Conditioner Choices
- Use sulfate‑free, color‑protecting shampoos to prevent fading.
- Condition with a deep‑moisture mask once a week to keep the hair cuticle smooth.
- Rinse with cool water to seal the cuticle and lock in color.
Heat Styling and Sun Protection
Excessive heat can strip color. Limit flat‑iron or curling‑iron use to 2‑3 times a week, and always apply a heat protectant spray. UV rays also fade lowlights; wearing a hat or using a UV‑shielding spray when outdoors helps maintain intensity.
Touch‑Up Schedule
Because lowlights are darker than your base, they grow out more gracefully. Most people find a touch‑up every 8‑10 weeks keeps the contrast looking fresh without a full color reset.
Common Mistakes and How to Avoid Them When Adding Lowlights
Even seasoned DIYers can slip up. Below are frequent pitfalls and quick fixes.
Over‑Processing the Hair
Leaving the dye on longer than recommended can cause breakage. Always set a timer and rinse promptly.
Poor Strand Selection
Choosing strands that are too thick or too thin can create an uneven look. Aim for pencil‑width sections for the most natural blend.
Ignoring Skin Tone Compatibility
Choosing a cool lowlight for a warm complexion (or vice‑versa) can result in a harsh contrast. Refer back to the shade table to match undertones.
Quick Lowlight Facts You Might Not Know
- Lowlights were popularized in the 1990s by runway models seeking a “sun‑kissed” look.
- Because they are darker, lowlights require less frequent touch‑ups than highlights.
- The term “lowlight” originally described a hair‑lighting technique used in film to create depth on screen.
- Adding lowlights can make hair appear up to 20% thicker when viewed from a distance.
- Most professional lowlight formulas contain less ammonia than full‑coverage dyes, reducing scalp irritation.
- When paired with a subtle balayage, lowlights can create a seamless gradient that mimics natural hair growth.
Frequently Asked Questions
Can I get lowlights on already dyed dark brown hair?
Yes. Lowlights work on both natural and previously colored hair. If your hair has a strong artificial tone, a pre‑color test is advisable to ensure the new lowlights blend well.
How long do lowlights last on dark brown hair?
Typically 8‑10 weeks before you notice noticeable fading. The exact duration depends on hair porosity, product quality, and how often you wash with hot water.
Do lowlights make hair look darker overall?
Only slightly. Because the lowlights are interspersed, they add depth without drastically changing the overall shade. If you want a more dramatic darkening, consider adding a few highlights of a lighter tone as well.
Is it safe to combine lowlights with a hair treatment like keratin?
Yes, but schedule the treatment at least two weeks after coloring. This gives the dye time to settle, reducing the risk of color stripping during the keratin process.
What’s the best way to hide roots between lowlight touch‑ups?
Use a root‑concealing spray or a dry shampoo in a shade matching your base color. These products mask regrowth and keep the lowlight effect seamless.
Final Thoughts: Embrace the Depth and Dimension of Dark Brown Lowlights
Adding lowlights to dark brown hair is a subtle yet powerful way to refresh your look, add texture, and boost confidence. Whether you opt for a professional salon session or a careful at‑home application, the key is choosing the right shade, following a precise process, and maintaining your hair with gentle, color‑protecting products.
With the guidance in this guide, you’re now equipped to experiment, enjoy the added depth, and keep your hair looking vibrant for months to come.

Hi, I’m Emily Carter, the mind and heart behind CaptionMood — a creative space designed to help you express your thoughts with the perfect words.
As a writer and digital content enthusiast, I’ve always believed that captions are more than just text; they’re emotions, stories, and reflections of who we are. With CaptionMood, my mission is to provide unique and engaging Mood Captions, Occasion Captions, and Social Media Captions that resonate with people from all walks of life.
Thank you for visiting and being part of this journey. Through CaptionMood, I hope to inspire, connect, and make every post more meaningful.