
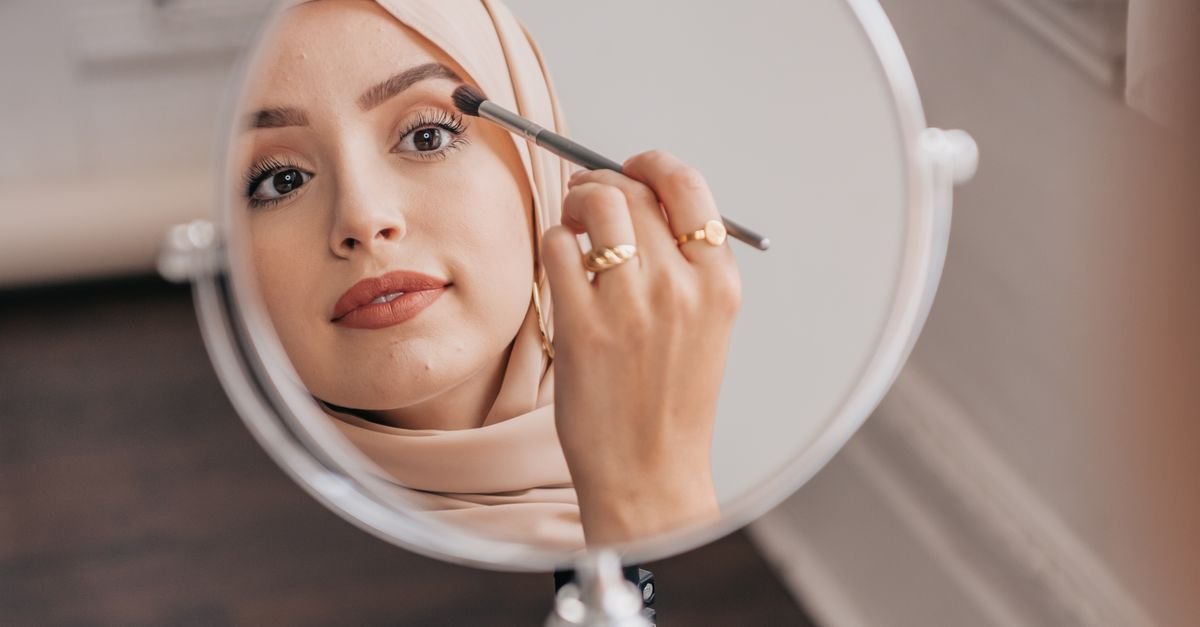
Finding makeup techniques that enhance a round face can feel like solving a puzzle each product, contour, and highlight must work together to create the illusion of definition without harshness.
In this guide we break down the most effective approaches, weigh their advantages and drawbacks, and give you actionable steps so you can sculpt, highlight, and glow with confidence.
Contouring vs. Shading: Which Method Shapes Better?

Contouring and shading are often used interchangeably, but they serve distinct purposes. Contouring typically involves a cooler-toned powder or cream placed in the hollows of the face to create depth, while shading uses a slightly darker, matte product to diminish width. Understanding the nuance helps you decide which technique aligns with your comfort level and the look you’re after.
Pros of Classic Contouring
- Defined angles: Cool tones mimic natural shadows, making cheekbones appear higher.
- Versatile finish: Works with both matte and dewy foundations for day‑to‑night transitions.
- Customizable intensity: Buildable layers let beginners start subtle and graduate to drama.
Cons of Classic Contouring
- Risk of over‑definition: Too much product can make a round face appear harsh or mask‑like.
- Blend time: Requires precise blending tools and patience, especially with cream formulas.
- Learning curve: Beginners may struggle to locate the correct hollows without a guide.
Pros of Soft Shading
- Gentle slimming: Darker matte shades subtly reduce width without creating stark lines.
- Quick application: Often applied with a large fluffy brush, making it faster for busy mornings.
- Low maintenance: Less blending needed; the effect remains natural even after a few hours.
Cons of Soft Shading
- Limited sculpting: Does not lift cheekbones as effectively as true contour.
- Potential dullness: Overuse can make the skin look flat, especially on dewy complexions.
- Color matching: Choosing the right shade for different skin tones can be tricky.
Matte vs. Dewy Foundations: Impact on Round Face Aesthetics

Foundation finish dramatically influences how contour and highlight appear. A matte base can enhance shadow work, while a dewy base adds a luminous glow that can soften a round shape.
When to Choose Matte
- When you plan heavy contouring and want shadows to stay defined.
- In oily skin types where shine control is a priority.
- For evening events where a sophisticated, non‑shiny look is preferred.
When to Choose Dewy
- If you prefer a fresh, youthful radiance that counters roundness with light.
- For dry or mature skin that needs a boost of hydration.
- When you want a natural‑looking base that blends seamlessly with highlighters.
Pros and Cons Table
| Finish | Pros | Cons |
|---|---|---|
| Matte | Controls shine; enhances shadows; longer wear on oily skin | Can appear flat; may accentuate dryness; less forgiving with blending errors |
| Dewy | Adds radiance; smooths texture; works well with cream contours | Can reflect light on wider faces; may need setting powder; shorter wear on oily skin |
Choosing the Right Highlight: Strategic Placement for Elongation

Highlighting isn’t just about sparkle; it’s a tactical tool for elongating a round face. By directing light to specific zones, you can create the illusion of length and angularity.
High‑Point Highlights
- Forehead center: A thin line of shimmer draws the eye upward, adding perceived height.
- Cupid’s bow: Highlights here open the face and make the chin appear more defined.
- Bridge of the nose: A subtle sheen elongates the central axis.
Cheekbone Highlights
- Apply just above the cheekbone, not on the flesh, to lift the cheek and avoid a “moon face” effect.
- Use a soft, champagne hue for fair skin or a golden rose for deeper tones.
Pros and Cons of Different Forms
- Powder highlighters: Easy to blend, great for oily skin, but can appear powdery if over‑applied.
- Cream highlighters: Blend seamlessly with dewy foundations, offering a natural glow, yet may migrate on humid days.
- Liquid highlighters: Provide the most intense shine, perfect for photography, but require precise placement.
Eyebrow Shaping: Framing the Face to Counter Roundness

Eyebrows act as the architectural frame of the face. The right shape can add vertical lines, making a round face look longer and more structured.
Best Brow Styles for Round Faces
- Angled arches: Create a diagonal line that breaks up the circular silhouette.
- High‑arched brows: Lift the eye area, giving the illusion of added height.
- Long, slightly tapered brows: Extend the visual length of the face without widening it.
Pros and Cons of Common Brow Techniques
- Microblading: Long‑lasting, natural look; however, it can look too bold if not properly angled.
- Pomade filling: Allows precise control and easy adjustment; can feel heavy if over‑filled.
- Powder brow kits: Quick and forgiving; may require frequent touch‑ups throughout the day.
Makeup Tools That Make a Difference

Even the best products falter without the right tools. For round faces, the choice of brush, sponge, and applicator influences how seamlessly contour, highlight, and foundation meld together.
Essential Brushes
- Angled contour brush (2‑inch): Perfect for depositing product into the hollows without spilling onto the cheeks.
- Fluffy blending brush: Softens harsh lines, crucial for a natural finish.
- Fine tapered brush: Ideal for precise highlight placement on the cupid’s bow and bridge of the nose.
Sponge vs. Brush Debate
- Sponge (wet‑out): Gives a seamless, airbrushed look, especially with dewy foundations.
- Brush: Offers more control for powder products and prevents product absorption.
Pros and Cons Summary
| Tool | Pros | Cons |
|---|---|---|
| Angled Brush | Precise contour; minimal product waste | Requires cleaning after each use |
| Fluffy Brush | Soft blends; works with powders | Can leave streaks if too dry |
| Sponge | Airbrushed finish; quick application | Absorbs liquid products; needs frequent rinsing |
Quick Facts About Round Face Makeup
- Strategic contouring on the sides of the forehead creates a subtle “lift” effect.
- Using a matte foundation as a base helps shadows stay defined longer.
- High‑arched eyebrows add up to 0.5‑1 cm of perceived facial length.
- Champagne‑toned highlighters work best on fair to medium skin, while rose‑gold suits deeper tones.
- Applying a thin line of highlighter down the bridge of the nose can elongate the face by up to 2 cm visually.
Frequently Asked Questions
Can I contour a round face without using dark shades?
Yes. Opt for cool‑toned, neutral browns that are only one to two shades deeper than your skin. The subtle shift creates depth without harsh contrast, which is ideal for a natural‑day look.
How often should I re‑apply highlighter on a dewy foundation?
On oily skin, a light dusting of powder highlighter after setting spray can last 4‑5 hours. For dry skin, a cream highlighter layered over a dewy base typically stays fresh for 6‑8 hours before needing a touch‑up.
Is it necessary to use both contour and shading on a round face?
Not always. If you prefer a softer effect, a single shading step on the sides of the jawline combined with strategic highlighting can achieve a balanced look without the complexity of full contouring.
What eyebrow shape should I avoid if I have a round face?
Flat, overly horizontal brows tend to widen the face further. Steering clear of low‑arched, straight brows helps prevent adding extra horizontal lines to the facial silhouette.
Do I need a setting spray for a round‑face makeup routine?
While not mandatory, a light‑mist setting spray locks in both matte and dewy elements, extending wear time and preventing the contour from slipping into the cheeks.
Can makeup alone make my face look slimmer, or do I need other tricks?
Makeup is powerful, but pairing it with hairstyles that add height (like layered cuts or top‑volume bangs) and accessories that draw the eye upward can amplify the slimming effect.
Final Thoughts
Round‑face makeup is less about masking and more about artfully guiding light and shadow to create the illusion of angles. By selecting the appropriate foundation finish, mastering the balance between contour and shading, placing highlights strategically, shaping brows to add vertical lines, and using the right tools, you can achieve a sculpted yet natural look that feels both polished and personal.
Remember, practice makes perfect experiment with the pros and cons outlined here, adapt them to your unique features, and enjoy the confidence that comes with a makeup routine tailored just for you.

Hi, I’m Emily Carter, the mind and heart behind CaptionMood — a creative space designed to help you express your thoughts with the perfect words.
As a writer and digital content enthusiast, I’ve always believed that captions are more than just text; they’re emotions, stories, and reflections of who we are. With CaptionMood, my mission is to provide unique and engaging Mood Captions, Occasion Captions, and Social Media Captions that resonate with people from all walks of life.
Thank you for visiting and being part of this journey. Through CaptionMood, I hope to inspire, connect, and make every post more meaningful.